At the time of this post’s writing, koebepy is really in its infancy and is not yet ready to be committed to the pip package repository. (By the way, I prounounce this “ker-buh-pie”, since the oe in German mathematician Paul Koebe’s name is an o with an umlaut “ö”.)
In order to install and run koebepy, you need the following
- Python 3.6+
- pip
- virtualenv (run `pip install virtualenv` on the command line)
- git
In this post we will use virtualenv to set up a python virtual environment, install the Jupyter notebook server in it, get the latest koebepy from its git repository, put koebepy into your PYTHONPATH and start the server to make sure everything is working.
Caveat emptor: I work on a Mac. I’m going to try to make these instructions as system agnostic as possible, but your mileage may vary. Please let me know in the comments what did or did not work for you. I am throwing these instructions up quick-and-dirty and will update as you report back on how the experience went.
We’re going to use the terminal
This post is going to assume some basic comfort using the terminal and will assume you are using the bash shell (I assume if you are using another shell–I use zsh with ohmyzsh–you are already comfortable with all of this and will simply skim). On Windows, it is probably easiest to install the Windows Subsystem for Linux and use bash there–this tutorial seems like it may be helpful if you need to get bash running on your Windows 10 system.
Setting up a virtual environment in Jupyter
-
Create a folder where you will store both a python virtual environment for running koebepy in a Jupyter notebook, and the koebepy code itself. I created mine as
~/koebepy. -
From within the folder you created in step 1, create a new Python 3 virtual environment using:
virtualenv -p python3 . -
Activate your virtual environment using:
source bin/activate -
Install
jupyterandwheelusing:pip install jupyterpip install wheel -
Enable notebook extensions on Jupyter:
jupyter nbextension enable --py widgetsnbextension
Getting koebepy
-
From within the same folder you created in step 1 above run the following:
git clone https://github.com/johncbowers/koebepy.gitThis will clone the git repository in a koebepy subfolder underneath the folder you created in step 1.
Adding koebepy to your PYTHONPATH
-
Now, change directory to the koebepy folder and run
pwdto get the full path to the folder. For me, this path is/Users/johncbowers/koebe/koebepy/.Add the following to the end of your ~/.bash_profile (on a Mac) or ~/.bashrc (on Linux / Windows Subsystem for Linux):
export PYTHONPATH="${PYTHONPATH}:/Users/johncbowers/koebe/koebepy/"making sure to replace the path to the
koebepydirectory with the actual path on your machine. This adds thekoebepydirectory to yourPYTHONPATHenvironment variable so that you canimport koebefrom within Python or Jupyter.
Creating an alias for koebepy
-
Still editing your
~/.bash_profileor~/.bashrcfile, add the following two lines after theexport PYTHONPATHline you added above:alias koebe-start="cd /Users/johncbowers/koebe;source bin/activate;cd koebepy;jupyter-notebook" alias koebe-stop="deactivate"Again, replacing the path to my
/Users/johncbowers/koebefolder with whatever the path to your outerkoebefolder is. -
Save your
~/.bash_profileor~/.bashrcfile and source it using:source ~/.bash_profile(Mac) orsource ~/.bashrc(Linux/Windows).
Starting/stopping koebepy
You should now be able to start koebepy by opening a terminal and running koebe-start.
This will start the server in the terminal window and open up a browser that is connected to the server.
To stop the server, go back to the terminal window and type CMD+C (on Mac) or CTRL+C (on Linux/Windows) followed by typing the y character (for yes, I really do want to stop this server). You can then run koebe-stop if you want to reset to your typical Python setup (or just close your terminal).
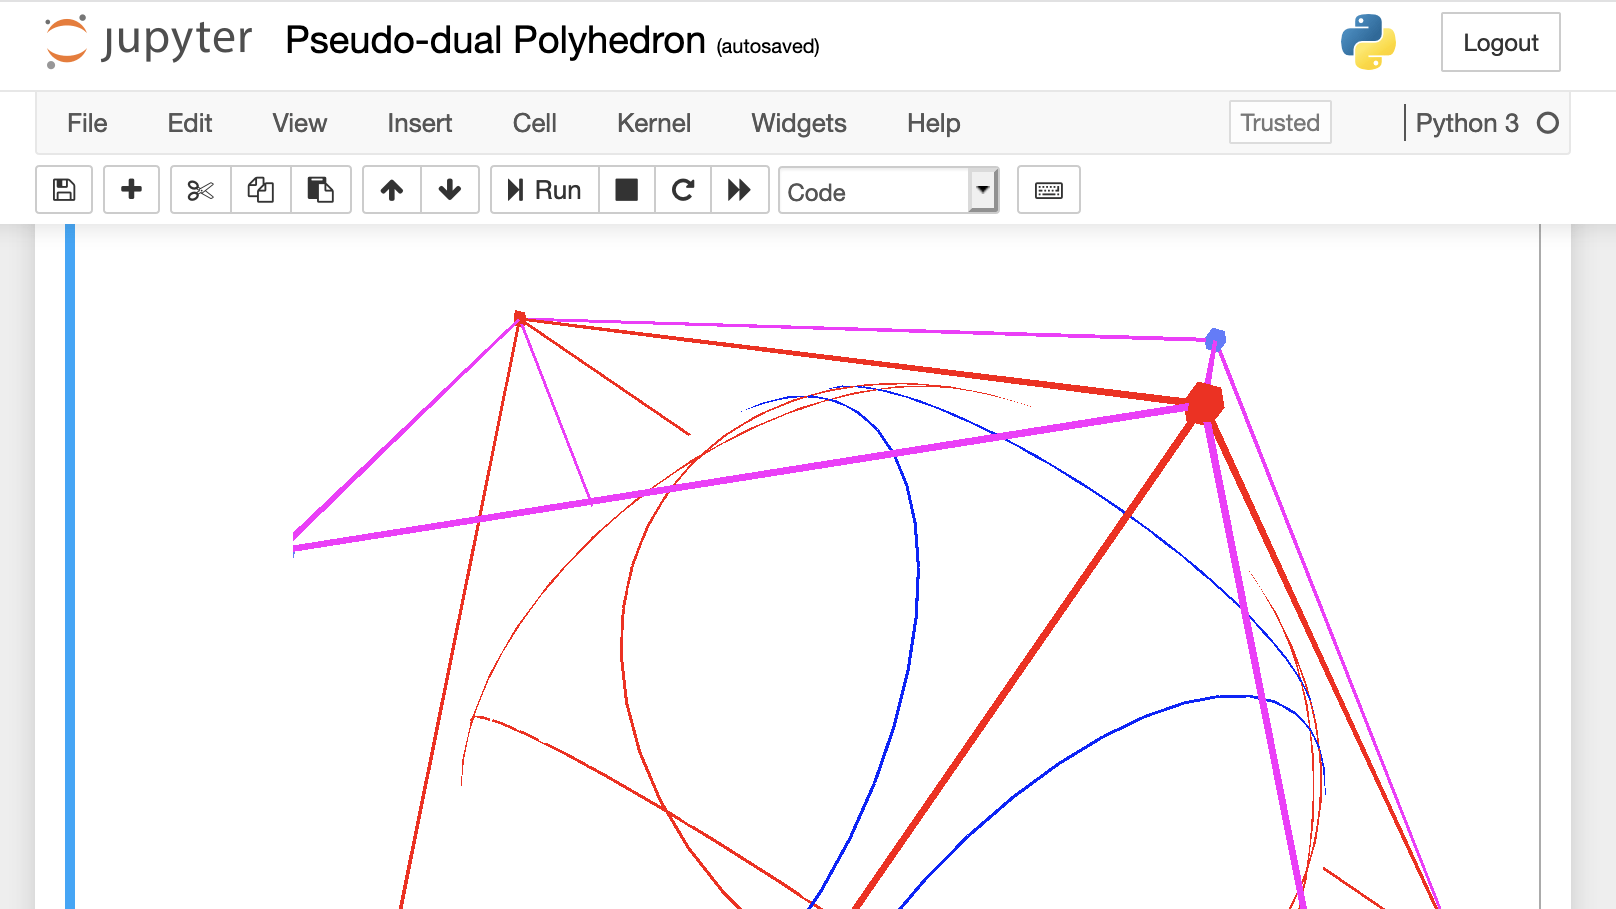
Run an Example Notebook
At the time of this writing, most of the example notebooks are poorly maintained / junk. It’s on my TODO list to clean them out. However, if you want to do a quick sanity check that everything appears to be working, from inside Jupyter open the “Example Notebooks/Pseudo-dual Polyhedron.ipynb”. When the notebook opens select Cell->Run All from the top menu. This should run all of the notebook’s cells generating at the end of the document a 3D viewer containing a polyhedron, a blank white sphere (p5js bug, the sphere used to be shaded–also on my TODO) and a circle pattern on the sphere (the circles are the tangent cone contacts for each of the vertices of the polyhedron). You should be able to click and drag to change the 3D view and use two finger scrolling on a track pad or a mouse wheel to zoom in/out (it is very sensitive). On my screen it looks something like this: